
Your ESP32 DHT22 room monitor starts with a simple question. How hot and how damp is this room, right now. The DHT22 answers both, with one sensor and one data wire.
In this tutorial you will wire a DHT22 to an ESP32, read temperature and humidity in Arduino IDE, print the readings to the Serial Monitor, calculate the heat index, and turn on an LED when the room feels too hot. That is a complete room monitor.
TL;DR: ESP32 DHT22 room monitor in one minute
Wire the DHT22 VCC pin to 3.3V, GND to GND, and DATA to GPIO 4. Add a 10k ohm pull up resistor between DATA and 3.3V if you use a bare four pin sensor. Install the DHT sensor library by Adafruit, plus Adafruit Unified Sensor. Set DHTTYPE to DHT22, read the sensor every 2 seconds, and print temperature, humidity, and heat index at 115200 baud. Turn on the LED on GPIO 2 when the heat index rises above 30 degrees Celsius. If you see NaN, check the wiring, the pull up resistor, and the 2 second interval first.
DHT22 or DHT11, which sensor should you use
The DHT11 is cheap, and it is fine for a first lesson. The DHT22 is the better sensor for a room monitor. The DHT11 measures temperature from 0 to 50 degrees Celsius, with an accuracy of about plus or minus 2 degrees, and humidity from 20 to 90 percent, with an accuracy of about plus or minus 5 percent. It reports whole degrees and whole percent, so small changes do not show.
The DHT22 measures temperature from minus 40 to 80 degrees Celsius, with an accuracy of about plus or minus 0.5 degrees, and humidity from 0 to 100 percent, with an accuracy of about plus or minus 2 percent, with a maximum of plus or minus 5 percent. It reports to 0.1 degrees and 0.1 percent, so a warm hand near the sensor shows up at once. The DHT22 is slower. It needs at least 2 seconds between readings, while the DHT11 needs at least 1 second. For a room monitor, 2 seconds is fast enough.
What you need for this ESP32 DHT22 room monitor
You need an ESP32 board, a DHT22 sensor or module, also sold as AM2302, a USB data cable, a breadboard and jumper wires, a computer with Arduino IDE and ESP32 support installed, one LED with a 220 ohm resistor if you want an external LED, and a 10k ohm resistor if you use a bare sensor.
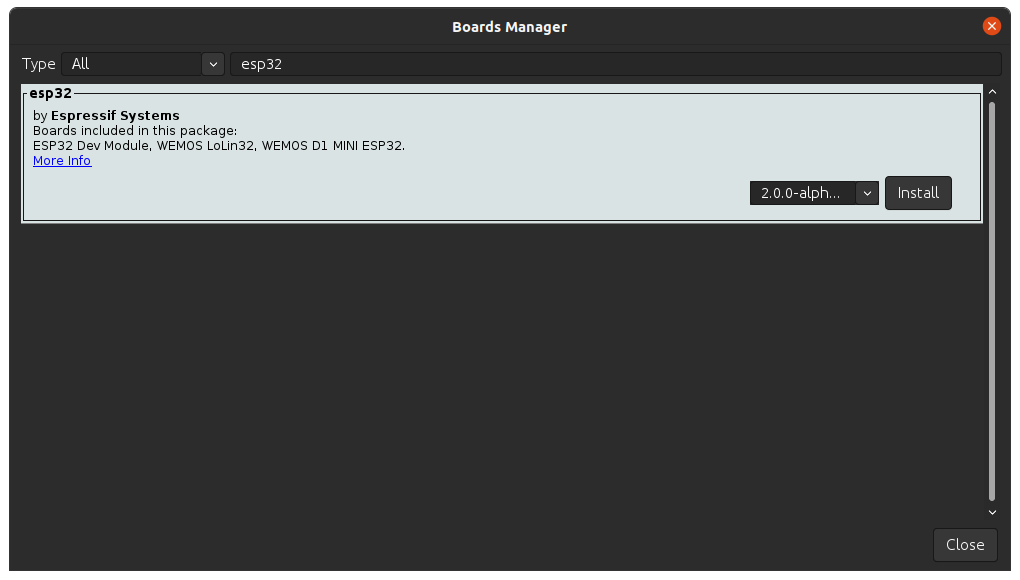
If Arduino IDE is not set up yet, set it up first. Use a classic ESP32 board, for example an ESP32 DevKitC V4. The wiring below uses GPIO 4 for the sensor and GPIO 2 for the LED, and both are safe on a classic board.
How the DHT22 works, in plain language
The DHT22 is a digital sensor. Inside the case sits a humidity sensing element, a thermistor for temperature, and a small chip that measures both and sends the result as a digital signal. It does not send an analog voltage for you to read with analogRead. It sends 40 bits of data over one wire. The first 16 bits are humidity, the next 16 bits are temperature, and the last 8 bits are a checksum, a small safety number that lets the receiver check that nothing was corrupted.
The sensor uses its own single wire timing protocol. It is not I2C, and it is not Dallas 1 Wire. The ESP32 pulls the data line low to start a read, the sensor answers, and then it sends the 40 bit frame. The Adafruit library handles that timing for you. Wait at least 2 seconds between reads, and wait 1 second after power is applied while the sensor stabilises, from the Aosong datasheet.
Wiring the DHT22 to your ESP32
Power off the board first, and double check each wire before you plug in the USB cable. For a bare four pin DHT22, with the vented front facing you and the pins down, the pins from left to right are VCC, DATA, NC, and GND. Pin 3, marked NC, means not connected, so leave it empty. Connect pin 1, VCC, to the 3.3V pin on the ESP32. Pin 4, GND, goes to a GND pin. Pin 2, DATA, goes to GPIO 4. Add a 10k ohm resistor between DATA and 3.3V.
For a three pin DHT22 module, follow the printed labels, not the bare pin order. Modules can reorder the pins, and some modules already have a pull up resistor built in. Connect VCC to 3.3V, GND to GND, and DATA or OUT or S to GPIO 4. Use 3.3V for the sensor, not 5V, because the ESP32 GPIO pins are not 5V tolerant.
Wiring the LED alert, and installing the libraries
The LED is the alert in this room monitor. If you use the onboard LED, it is on GPIO 2 on most classic boards, and you can skip the external LED wiring. If you want an external LED, connect its long leg to GPIO 2 through a 220 ohm resistor, and its short leg to GND. Do not connect a bare LED from GPIO 2 to GND with no resistor. The code will turn the LED on when the heat index rises above 30 degrees Celsius, and turn it off when it falls back below that value.
Open Arduino IDE and install two libraries. Go to Sketch, then Include Library, then Manage Libraries. Search for DHT sensor library, and install the DHT sensor library by Adafruit. When the IDE asks, also install Adafruit Unified Sensor, which is the dependency that the DHT library needs.
The code, explained part by part
Open Arduino IDE, create a new sketch, and type the code below.
#include "DHT.h"
#define DHTPIN 4
#define DHTTYPE DHT22
#define LED_PIN 2
DHT dht(DHTPIN, DHTTYPE);
void setup() {
  Serial.begin(115200);
  dht.begin();
  pinMode(LED_PIN, OUTPUT);
  delay(1000);
}
void loop() {
  delay(2000);
  float humidity = dht.readHumidity();
  float tempC = dht.readTemperature();
  if (isnan(humidity) || isnan(tempC)) {
    Serial.println("Failed to read from DHT sensor");
    return;
  }
  float heatIndexC = dht.computeHeatIndex(tempC, humidity, false);
  Serial.print("Humidity: ");
  Serial.print(humidity);
  Serial.print(" percent, Temperature: ");
  Serial.print(tempC);
  Serial.print(" C, Heat index: ");
  Serial.print(heatIndexC);
  Serial.println(" C");
  if (heatIndexC > 30) {
    digitalWrite(LED_PIN, HIGH);
  } else {
    digitalWrite(LED_PIN, LOW);
  }
}
First, DHTPIN is 4, DHTTYPE is DHT22, and LED_PIN is 2. Change DHTTYPE to DHT11 only if you swap the sensor. Second, DHT dht(DHTPIN, DHTTYPE) creates the sensor object, with readHumidity, readTemperature, and computeHeatIndex. Third, setup runs once. Serial.begin(115200) starts the Serial Monitor at 115200 baud, dht.begin starts the sensor, and pinMode(LED_PIN, OUTPUT) sets GPIO 2 to drive an LED.
Fourth, loop runs again and again. delay(2000) waits 2 seconds, because the DHT22 needs at least 2 seconds between readings. readTemperature returns degrees Celsius by default. Fifth, the isnan check catches a failed read. isnan means is not a number. Sixth, computeHeatIndex combines temperature and humidity into how hot it feels. Seventh, the LED check uses the heat index. If it is above 30 degrees Celsius, the LED turns on. If not, it turns off.
Upload the sketch
For a classic board use ESP32 Dev Module, and select the right port. If the upload fails, check the USB cable, board, and port first.
Testing your ESP32 DHT22 room monitor
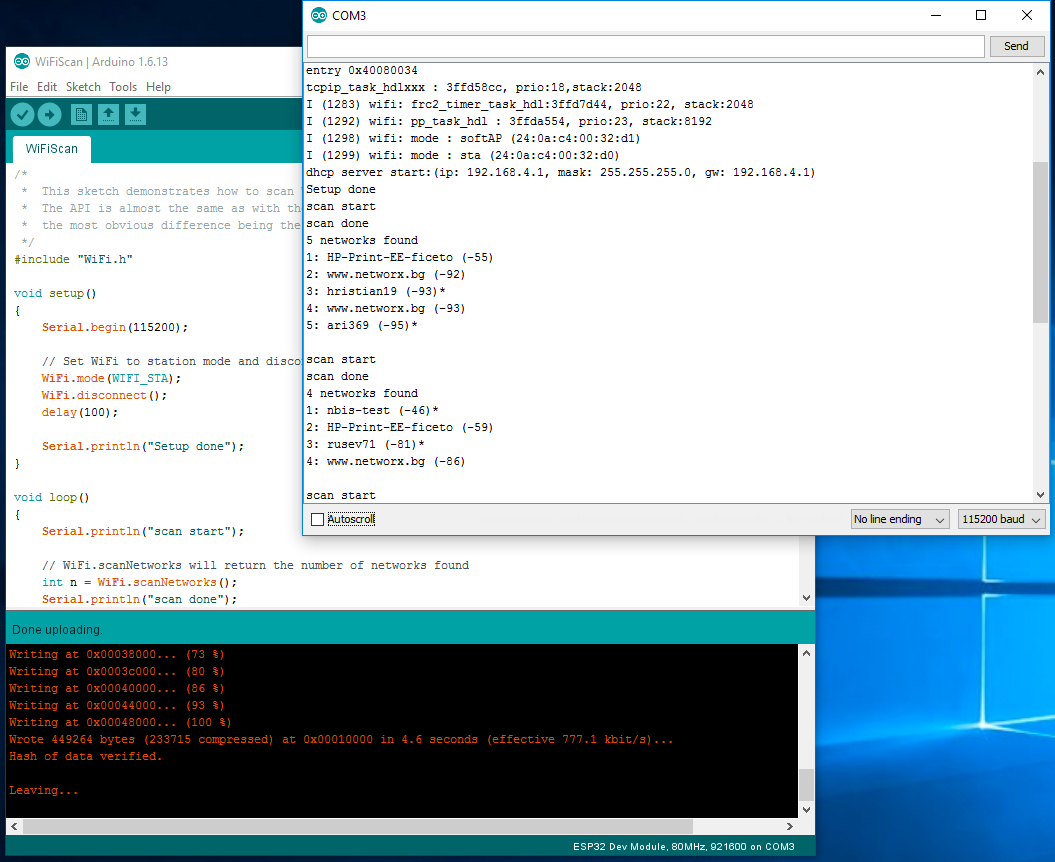
Open the Serial Monitor at 115200 baud. You should see a new line every 2 seconds, with humidity, temperature, and heat index. A normal indoor reading in a warm room might be 27 degrees Celsius, 55 percent humidity, and a heat index near 28 degrees Celsius. Test the sensor with a warm hand. Hold your hand near the sensor, without touching it, and watch the temperature and humidity rise. The heat index should rise faster than the temperature, because warm, damp air feels hotter than dry air. Test the LED the same way. Warm the sensor until the heat index crosses 30 degrees Celsius, and the LED should turn on. Move your hand away, and the LED should turn off.
What the heat index tells you, and common mistakes
The heat index combines temperature and humidity into how the air feels. A room at 30 degrees Celsius and 40 percent humidity feels different from a room at 30 degrees Celsius and 80 percent humidity, and the heat index shows that difference. The Adafruit library calculates it, so you do not need a formula in your code. The heat index is not a medical measurement, and it is not a substitute for a calibrated weather station.
Reading too fast is the most common mistake. The DHT22 needs at least 2 seconds between reads. Missing the pull up resistor is next. A bare four pin DHT22 needs a 10k ohm resistor between DATA and 3.3V. Wiring DATA to an input only pin is another. GPIO 34 to GPIO 39 are input only, and they cannot drive the DATA line low to start a read. Use GPIO 4. Powering the sensor at 5V is another. Use 3.3V. Forgetting Adafruit Unified Sensor is another. Install it, or the sketch will not compile. Using a charge only USB cable is the last one. It powers the board, but it carries no data, so the upload fails.
FAQs about your ESP32 DHT22 room monitor
Why do I see NaN in the Serial Monitor. NaN means the read failed. Check the wiring first, then the pull up resistor, then the 2 second interval. Check that DHTTYPE is DHT22, not DHT11, and that DATA is on GPIO 4.
Why does the LED turn on when the temperature is only 28 degrees Celsius. The LED uses the heat index, not the raw temperature. At high humidity, a temperature of 28 degrees Celsius can feel like 30 degrees Celsius or more. If you want the LED to follow temperature only, change the check to tempC above 30, instead of heatIndexC above 30.
What should I build after this project. Send the readings to your phone with Blynk, as in our DHT11 alerts project, or add an OLED display.
The bottom line on your ESP32 DHT22 room monitor
Your ESP32 DHT22 room monitor is short, but it changes what you can measure. The first ESP32 project made an LED blink. The second project added a button, so the board could listen. This project adds a sensor, so the board can measure the air. A DHT22 on GPIO 4, with a 10k ohm pull up, a 2 second interval, and a heat index check, gives you temperature, humidity, and a useful alert, with one sensor and one data wire.
Sources
Espressif Installing: https://docs.espressif.com/projects/arduino-esp32/en/latest/installing.html
Espressif Getting Started: https://docs.espressif.com/projects/arduino-esp32/en/latest/getting_started.html
Random Nerd Tutorials ESP32 DHT22: https://store.nerokas.co.ke/blog/esp32-dht11-dht22-temperature-humidity-sensor-arduino-ide