
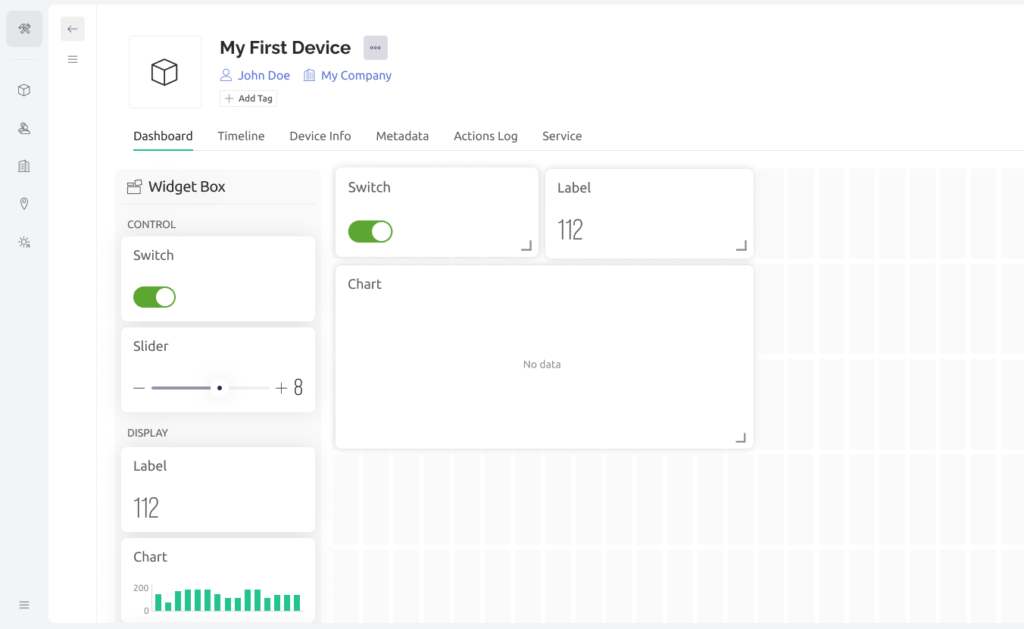

If you already have a DHT11 sensor reading temperature and humidity on an ESP32, the next step is simple. A Blynk IoT ESP32 DHT11 setup puts those readings on your phone, so you can check them from anywhere. It also adds alerts that tell you when a room gets too hot or too damp.
TL;DR: Blynk IoT ESP32 DHT11 in one minute
First, create a free Blynk account, turn on Developer Mode, and create an ESP32 template on WiFi. Add two datastreams, V0 for temperature and V1 for humidity, and add a gauge for each. Wire the DHT11 data pin to GPIO 4, install the Blynk and DHT libraries, and upload code that reads the sensor every 60 seconds. Create an event called high_temp, and trigger it with Blynk.logEvent only once per hot spell.
What is Blynk IoT, and what is Blynk 2.0
Blynk IoT is a cloud platform for connected devices. It gives you a web dashboard in Blynk.Console, a mobile app for iOS and Android, and a cloud service between your board and your phone. Your ESP32 sends readings to Blynk.Cloud, and Blynk shows them as gauges and charts.
A template is a set of settings that every device of the same type shares. You define it once, with its datastreams, widgets, and events, then create devices from it. A datastream is a channel that carries one value between your device and Blynk.Cloud. A virtual pin is a datastream that is not tied to a real pin.
What you need for this Blynk IoT ESP32 DHT11 project
You need an ESP32 board, a DHT11 sensor or module, a USB cable, a breadboard and jumper wires, a computer with Arduino IDE, a WiFi network, and a free Blynk account. If Arduino IDE is not set up for ESP32 yet, follow our guide. Read it here: https://techknowlogy.net/arduino-ide-setup-for-esp32-2026/
The DHT11 is cheap, and its limits matter. It measures temperature from 0 to 50 degrees Celsius, accurate to about plus or minus 2 degrees, and humidity from 20 to 90 percent, accurate to about plus or minus 5 percent. It runs on 3.3 to 5.5 volts, and it is slow, so do not read it more often than once every second.
Step 1: Create your Blynk IoT ESP32 DHT11 template
Go to blynk.cloud and create a free account, or sign in. In Blynk.Console, go to My Profile in the top right corner and set Developer Mode to ON.
Open Developer Zone, then My Templates, and click New Template. Name it clearly, for example DHT11 Room Monitor. Set the hardware to ESP32 and the connection type to WiFi, then click Done. Copy the Template ID and Auth Token.
Step 2: Add datastreams for temperature and humidity
Open your template, go to the Datastreams tab, and click New Datastream, then Virtual Pin. Create temperature first. Set the name to Temperature, the pin to V0, the data type to Double, the units to Celsius, and the minimum and maximum to 0 and 50.
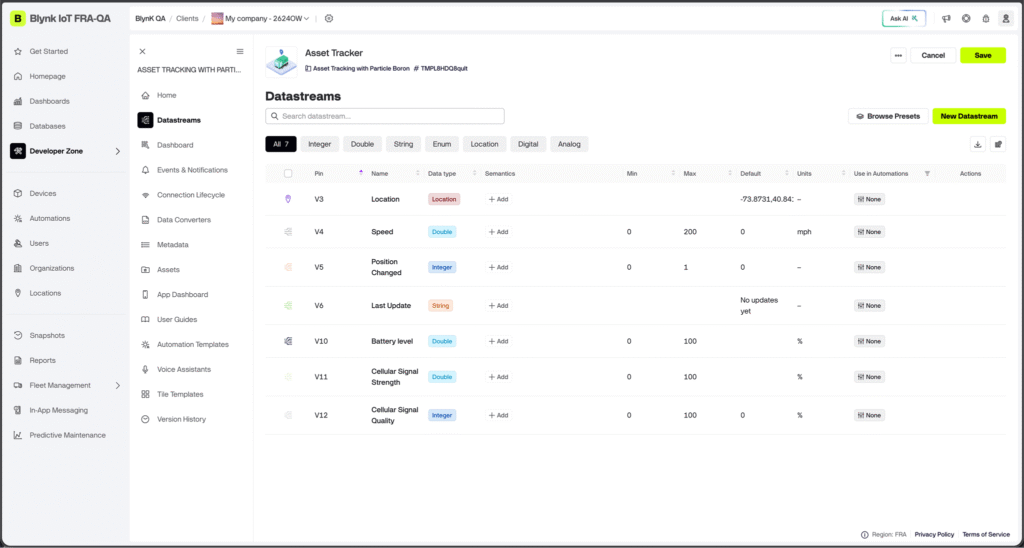
For humidity, use name Humidity, pin V1, data type Double, units Percentage, and minimum and maximum 0 and 100.
Step 3: Build your Blynk dashboard
A dashboard is the screen you look at. Blynk has two, a web dashboard in Blynk.Console and a mobile dashboard in the app, and you set up both from the template. Open the template, go to the Web Dashboard tab, and add two gauge widgets. Set the first gauge to Temperature on V0, and the second to Humidity on V1.
Next, add the same two gauges in the Blynk app on your phone.
Step 4: Wire the DHT11 to your ESP32
Wire the DHT11 with the power off. Connect DHT11 VCC to the 3.3 volt pin on the ESP32, DHT11 GND to a GND pin, and the DHT11 DATA pin to GPIO 4. If you use a bare DHT11 sensor with four pins, the third pin is not connected, so leave it empty.
Many DHT11 modules already have a pull up resistor built in. If you use a bare sensor, add a 4.7k ohm resistor between the DATA pin and the 3.3 volt rail. Double check the wiring before you plug in the USB cable, because 5 volts on the data line can damage an ESP32 GPIO pin. If you built your first ESP32 project already, this wiring will feel familiar. Read it here: https://techknowlogy.net/your-first-esp32-project-blinking-an-led-complete-tutorial/
Step 5: Add the ESP32 code for Blynk IoT ESP32 DHT11
Open Arduino IDE and install three libraries if they are not already installed. Go to Sketch, then Include Library, then Manage Libraries, and install the Blynk library, the DHT sensor library, and the Adafruit Unified Sensor library.
First, the credentials go at the very top of the sketch, before any include lines. You need three lines, for BLYNK_TEMPLATE_ID, BLYNK_TEMPLATE_NAME, and BLYNK_AUTH_TOKEN, using the values you copied from Blynk.Console. Second, include BlynkSimpleEsp32.h and DHT.h, define DHTPIN as 4 and DHTTYPE as DHT11, and create the sensor object with DHT dht(DHTPIN, DHTTYPE).
Third, write a sendSensorData function. Read the sensor with dht.readTemperature() and dht.readHumidity(). Check whether either reading is not a number, using isnan, and if it is, return without sending anything. If both readings are valid, send them with Blynk.virtualWrite(V0, temperature) and Blynk.virtualWrite(V1, humidity).
Fourth, write the setup function. Start the serial monitor, start the sensor with dht.begin(), start the timer with timer.setInterval(60000L, sendSensorData), and connect with Blynk.begin(auth, ssid, pass).
Fifth, write the loop function. It needs only two lines, Blynk.run() and timer.run(). Upload the sketch and wait up to 60 seconds for the first reading.
Step 6: Add alerts in Blynk IoT ESP32 DHT11
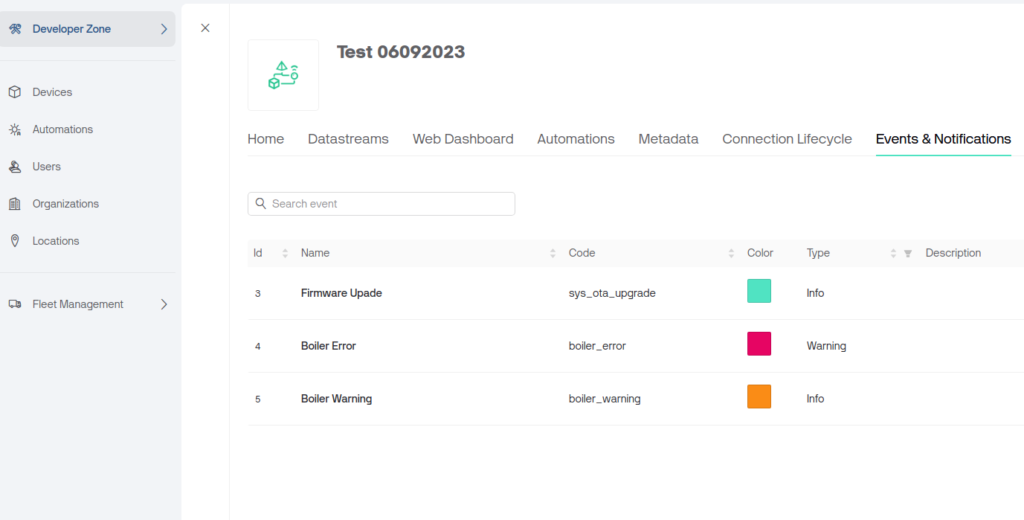
Alerts in Blynk IoT are called Events. An event is created in the template in Blynk.Console, and triggered from the device with Blynk.logEvent. When it fires, Blynk logs it on the device timeline and sends a notification, by push notification, by email, or by SMS.
Create the first event in Blynk.Console. Open your template, go to the Events and Notifications tab, click Edit, then Create Event. Name it High temperature, and set the event code to high_temp. Keep the code lowercase, with an underscore and no spaces.
Set the type to Warning and turn on Show on Timeline.
Now add the trigger to your code. In the sendSensorData function, after you have valid readings, check the temperature against your limit. If it is above 35 degrees, call Blynk.logEvent with the event code and a message that includes the reading.
The important part is the flag. Do not call Blynk.logEvent on every reading while the room stays hot. Blynk allows only 100 events per device per day, and a hot room sending an event every 60 seconds would use that limit in 100 minutes. Use a flag. Send the event only when the temperature crosses above 35 degrees and the flag is false, then set the flag to true. When the temperature falls back below 33 degrees, set the flag back to false. If you prefer no code, use a Blynk Automation instead, with a trigger like Temperature is greater than 35 and an action of Send notification.
Step 7: Test your Blynk IoT ESP32 DHT11 alerts
Test in daylight, so you can watch the dashboard and your phone at the same time. First, check that the gauges show live readings. Breathe warm air near the sensor and watch the temperature gauge rise.
Next, test the alert. Warm the sensor until the temperature crosses your limit, for example 35 degrees, and watch for the push notification and the event on the device timeline in Blynk.Console.
Free plan limits, and the message maths
Blynk has a free plan, and it is enough for this project. The figures below are from the Blynk pricing page.
The current free plan gives you 5 devices, 1 user, 100,000 device messages per month, 1 week of data retention, 10 templates, and 5 events.
The message limit is the one that catches beginners. Every Blynk.virtualWrite is one message, so each reading sends 2 messages. At a 60 second interval, that is about 86,400 messages in a 30 day month, inside the 100,000 limit.
Troubleshooting your Blynk IoT ESP32 DHT11 project
If the gauges show nothing, check the chain in order. First, open the Serial Monitor at 115200 baud and check that the ESP32 connects to WiFi and to Blynk. If it does not connect, check the WiFi name, password, and Auth Token.
Second, check that the sensor readings are valid, not not a number. Third, check that the virtual pins in the code match the datastreams in Blynk, V0 for temperature and V1 for humidity. If the code will not upload at all, follow our upload error guide. Read it here: https://techknowlogy.net/esp32-upload-error-fix/
If the alert does not fire, check the event code first. The code in Blynk and the code in your sketch must match exactly, including lower case and underscores.
FAQs about Blynk IoT ESP32 DHT11
Is Blynk IoT free for this project
Yes. The free plan gives you 5 devices, 1 user, 100,000 messages per month, and 1 week of data retention.
What is the difference between Blynk 2.0 and Blynk Legacy
Blynk 2.0 is the current Blynk IoT platform, with templates, datastreams, and a web dashboard. Blynk Legacy was the old app and server, and it shut down on 31 Dec 2022.
Which virtual pins should I use for temperature and humidity
Use V0 for temperature and V1 for humidity.
How often should the ESP32 send readings to Blynk
Once every 60 seconds.
Can Blynk send me an alert without code
Yes. Use Automations in Blynk.Console or in the app, with a trigger like Temperature is greater than 35, and an action of Send notification. The free plan includes 5 automations.
Why did my alert stop after one notification
The most common cause is a missing flag, so the code sends an event on every reading and hits the 100 events per device per day limit.
The bottom line on Blynk IoT ESP32 DHT11
In short, a Blynk IoT ESP32 DHT11 project turns a simple sensor into a room monitor you can check from anywhere. Create a template, add two datastreams on V0 and V1, build a dashboard with two gauges, wire the DHT11 to GPIO 4, and send readings every 60 seconds. Add one high temperature event, and test it before you trust it.