
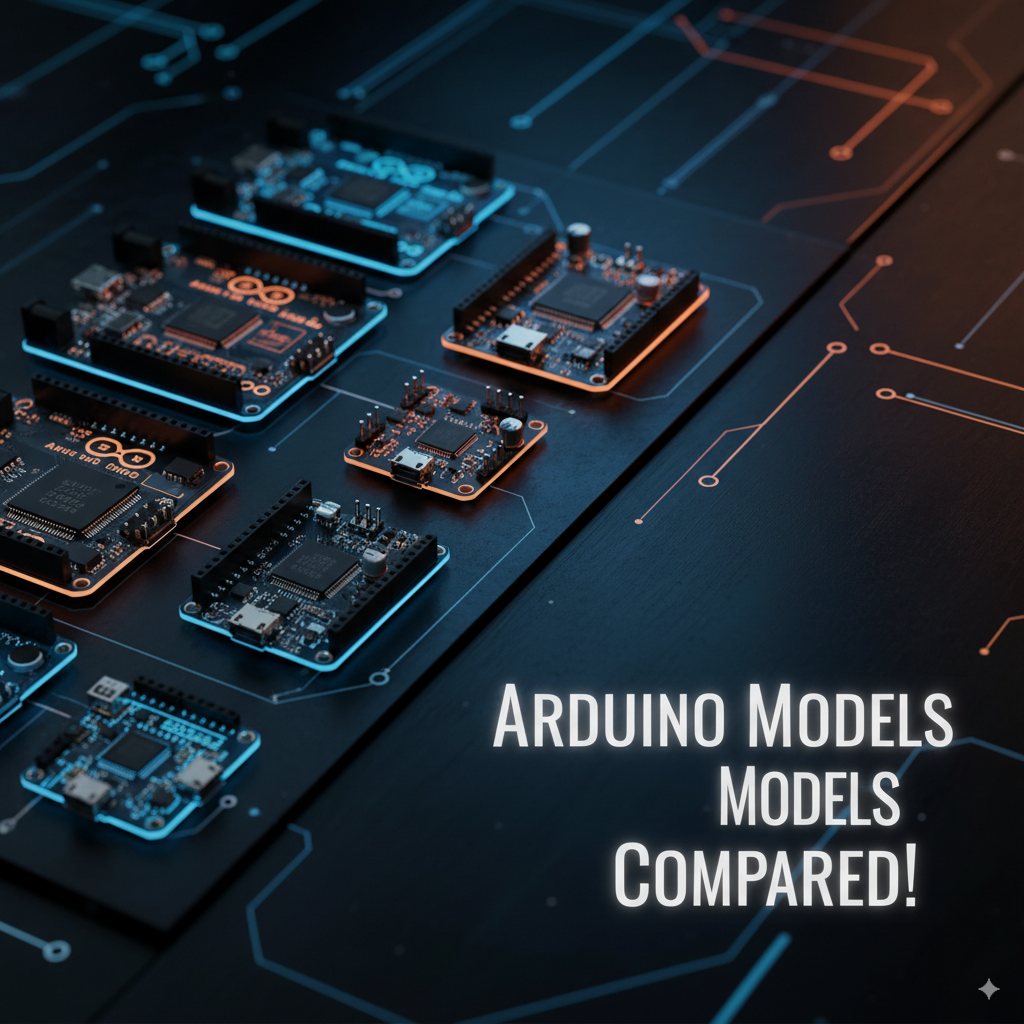
Arduino Models Compared: Choosing the Right Board for Your IoT and DIY Projects
Introduction
If you’re trying to choose the right board for your project, this Arduino Models Comparison will guide you through Uno, Mega, Nano, ESP8266, and ESP32, highlighting their features and best uses. Since the launch of the first Arduino board in 2005, this open-source platform has transformed how we approach hardware programming and embedded systems. With an easy-to-use interface, tons of libraries, and a vibrant global community, Arduino makes prototyping simple—even for beginners.Choosing the right microcontroller can be overwhelming. That’s why this Arduino Models Comparison looks at Uno, Mega, Nano, ESP32, and ESP8266 to help you pick the best board.
Why So Many Arduino Models?
The reason Arduino has multiple models is simple: not all projects are the same. Some projects require only a few LEDs and sensors, while others need Wi-Fi connectivity, Bluetooth, high processing power, or multiple I/O pins. Arduino evolved over the years to serve different use cases—ranging from beginner-friendly boards to advanced IoT solutions.
1. Arduino Uno – The Beginner’s Choice
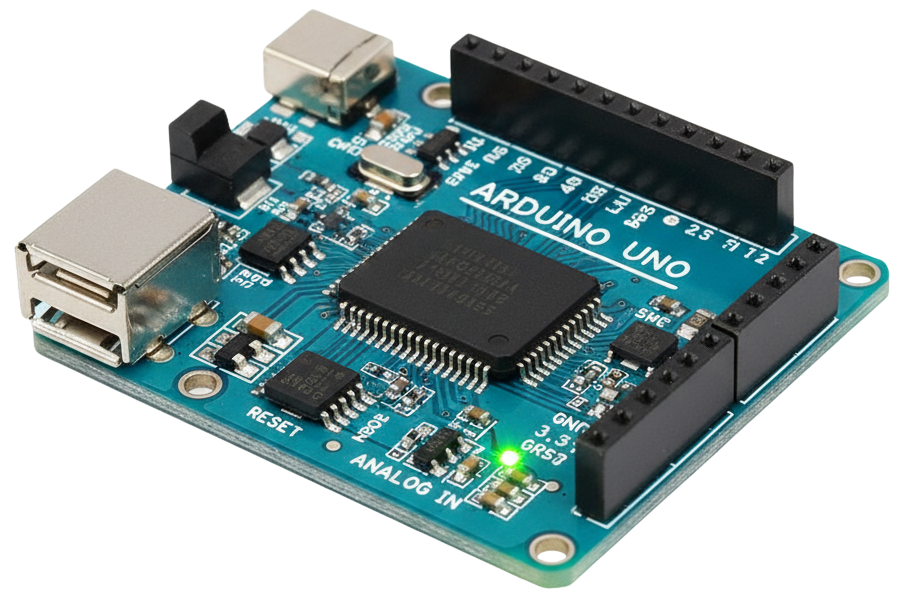
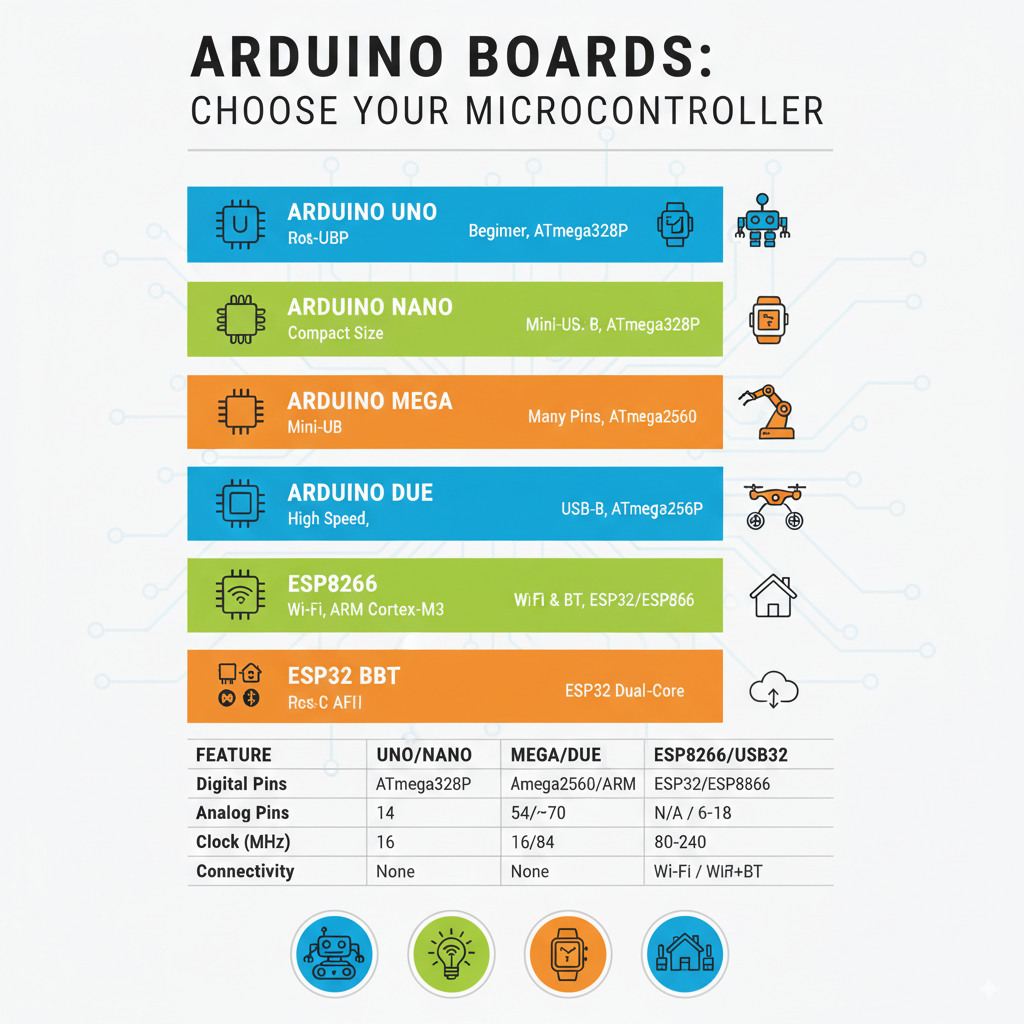
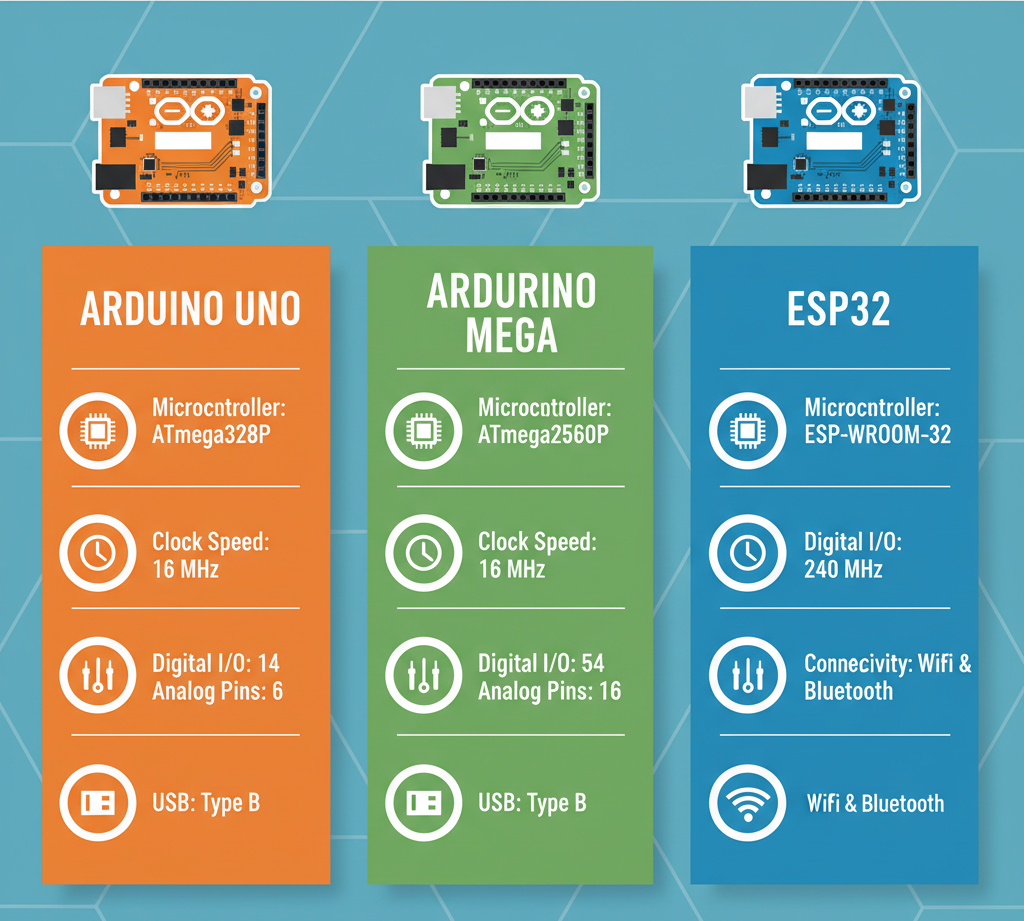
The Arduino Uno is the most popular and beginner-friendly board in the Arduino family. Affordable, reliable, and easy to use, it’s often the very first board that hobbyists and students work with. Equipped with an ATmega328P microcontroller running at 16 MHz, the Uno features 14 digital I/O pins, 6 analog inputs, and a standard USB Type-B connection.
Best For:
- Learning Arduino basics
- Controlling LEDs, motors, and sensors
- Simple automation projects
Example Project: A smart plant watering system using a soil moisture sensor and pump.
2. Arduino Nano – Small but Mighty
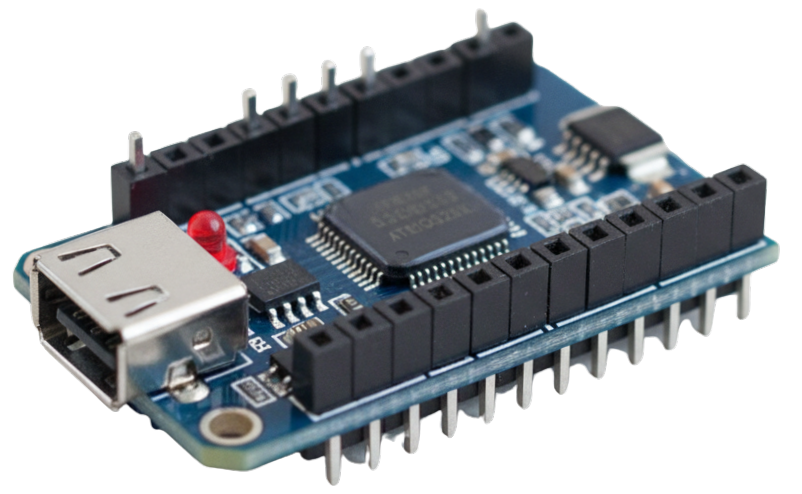
The Arduino Nano offers the same core functionality as the Uno but in a much smaller, breadboard-friendly form factor. Using the ATmega328 microcontroller with a 16 MHz clock speed, it provides 22 digital I/O pins, 8 analog inputs, and a USB Mini-B connection. Its compact size makes it perfect for space-constrained projects like wearables and portable devices. Makers often choose the Nano when they need power in a tiny package.
Best For:
- Wearables
- Portable devices
- Projects with limited space
Example Project: A wearable step counter using an accelerometer sensor.
3. Arduino Mega – Built for Big Projects
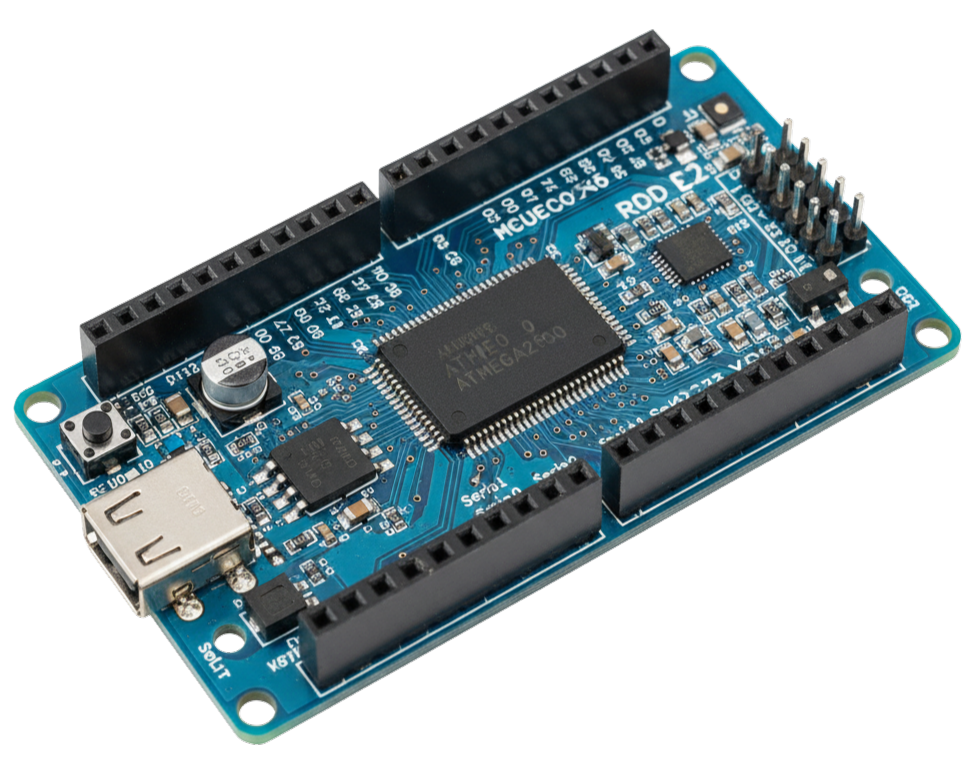
The Arduino Mega 2560 is the go-to board for large and complex projects that require more pins, memory, and processing power. With its ATmega2560 microcontroller running at 16 MHz, the Mega provides a massive 54 digital I/O pins, 16 analog inputs, and 256 KB of flash memory, making it ideal for robotics, 3D printing, and data-intensive applications. Makers often rely on the Mega when multiple sensors, motors, or modules need to work together.
Best For:
- Robotics
- 3D printers
- Data logging and heavy computations
Example Project: A home automation system controlling multiple appliances simultaneously.
4. Arduino Due – Advanced Performance
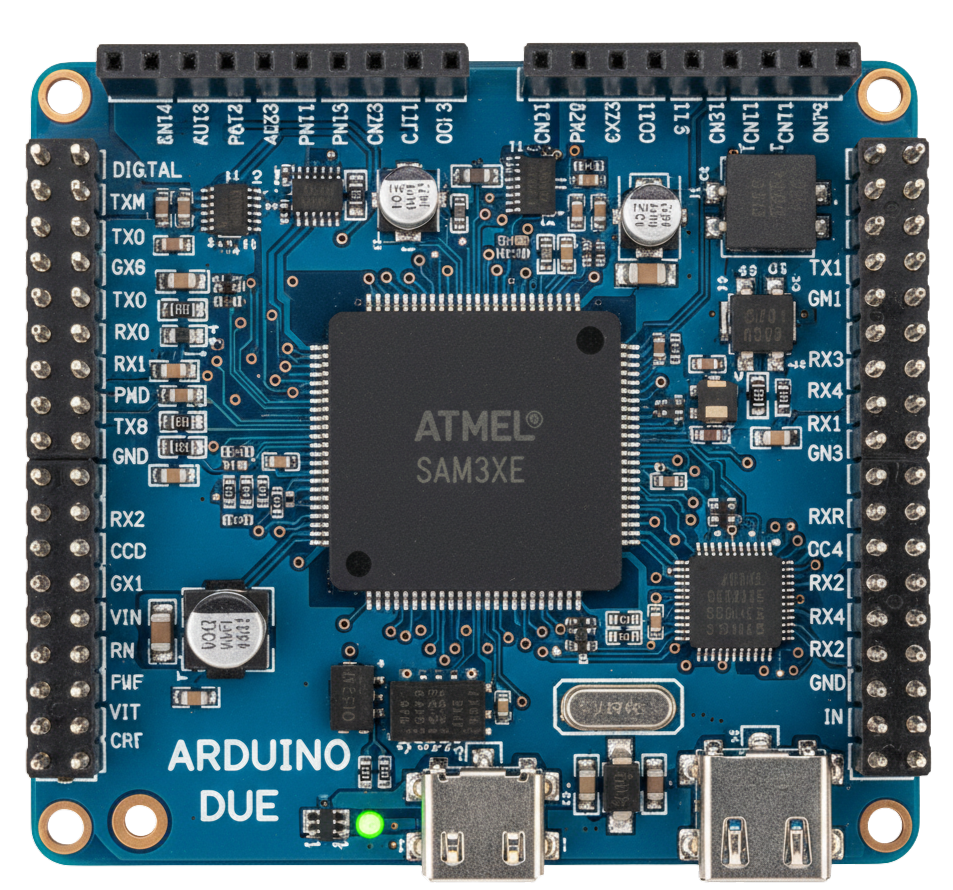
The Arduino Due stands out because it uses a 32-bit ARM Cortex-M3 processor instead of the standard 8-bit AVR, giving it much higher computational power. Running at 84 MHz with 54 digital I/O pins and 12 analog inputs, it’s designed for advanced projects like complex robotics, audio signal processing, and real-time control systems.
Best For:
- Complex robotics
- Audio signal processing
- Real-time control systems
Example Project: A MIDI controller for digital music production.
5. ESP8266 – Wi-Fi on a Budget

The ESP8266 may not be an official Arduino board, but it integrates seamlessly with the Arduino IDE and has become extremely popular for Wi-Fi-enabled projects. With its 32-bit Tensilica processor running up to 160 MHz, built-in Wi-Fi, and 17 GPIO pins, it provides wireless connectivity at a very low cost. It’s best suited for IoT devices, smart home projects, and budget-friendly wireless systems.
Best For:
- IoT devices
- Smart home automation
- Low-cost Wi-Fi-enabled projects
Example Project: A Wi-Fi-enabled smart bulb controlled with a smartphone.
6. ESP32 – The IoT Powerhouse
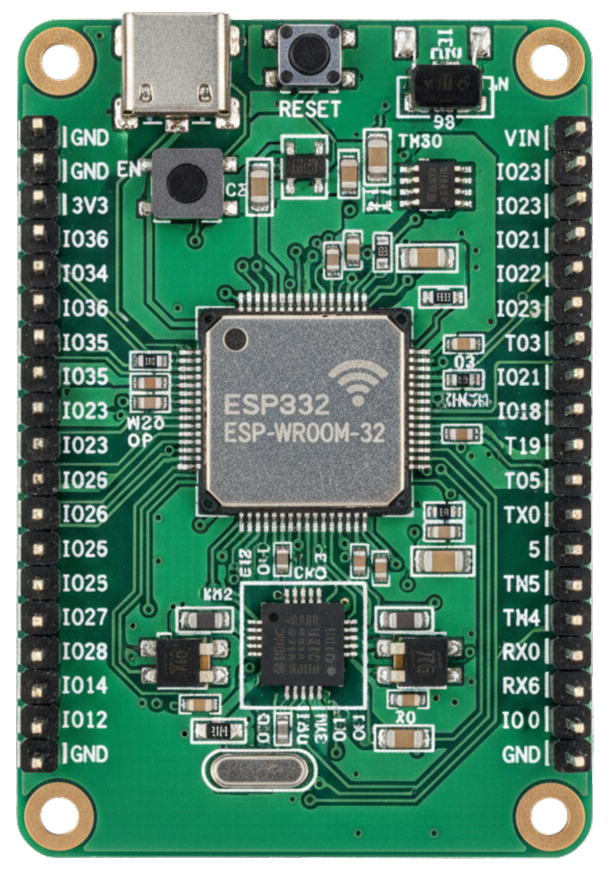
The ESP32 takes IoT projects to the next level with its dual-core processor, built-in Wi-Fi, Bluetooth, and up to 240 MHz of clock speed. It offers 34 GPIO pins, 4 MB of flash memory, and advanced capabilities like real-time data processing, AI/ML on edge devices, and voice control integration. Makers use the ESP32 for smart home systems, wearables, and AI-based IoT solutions.
Best For:
- Advanced IoT projects
- AI/ML on edge devices
- Real-time data processing
Example Project: A voice-controlled home automation system with Alexa or Google Assistant.
7. Other Notable Arduino Models
- Arduino Leonardo – Built-in USB communication, useful for custom keyboards and joysticks.
- Arduino Pro Mini – Low-power, compact board for battery-powered projects.
- Arduino MKR Series – IoT-focused boards with Wi-Fi, LoRa, or GSM support.
Comparison: ESP32 vs Arduino Uno vs Arduino Mega
| Feature | Arduino Uno | Arduino Mega | ESP32 |
|---|---|---|---|
| Clock Speed | 16 MHz | 16 MHz | 240 MHz |
| Wi-Fi/Bluetooth | No | No | Yes |
| Digital Pins | 14 | 54 | 34 |
| Analog Inputs | 6 | 16 | 18 |
| Best For | Beginners | Complex builds | IoT & AI projects |
Which Arduino Model Should You Choose?
- Just starting out? → Get the Arduino Uno.
- Space-limited project? → Go for the Nano or Pro Mini.
- Complex robotics or 3D printers? → Use the Mega.
- Wi-Fi on a budget? → Try the ESP8266.
- Advanced IoT or AI applications? → The ESP32 is the best choice.
- Music or high-speed projects? → Opt for the Due.
Project Ideas
Arduino UNO Projects
Blinking LED – The classic first project to understand digital output.
Traffic Light System – Using LEDs to simulate a traffic signal.
Temperature Monitor – Display real-time temperature with a DHT11 sensor and LCD.
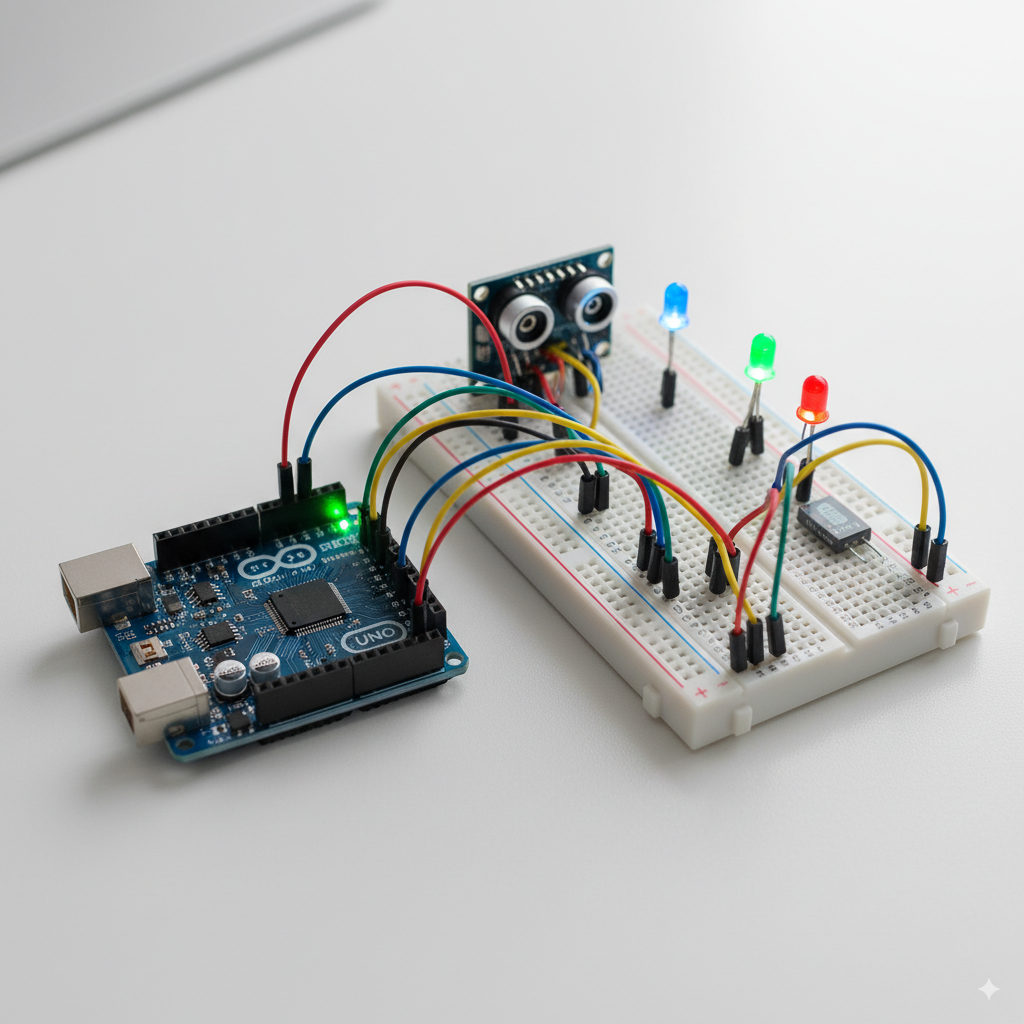
Ultrasonic Distance Meter – Measure distance using an ultrasonic sensor and display results.
Arduino Nano Projects
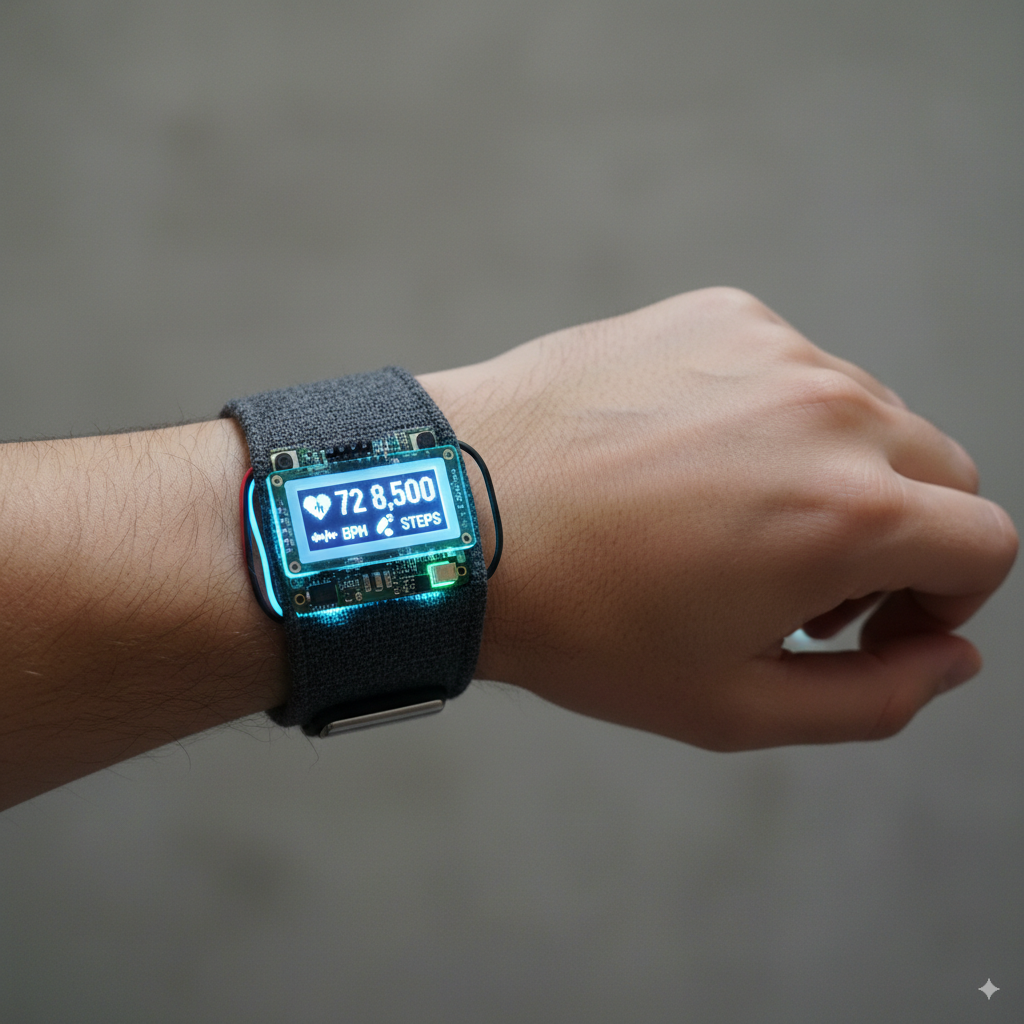
Wearable Heartbeat Monitor – Use a pulse sensor to measure heart rate and show results on OLED.
Portable Game Console – Tiny handheld device using an OLED screen and buttons to play simple games.
Smart Keychain Locator – Nano with a buzzer that can be triggered by Bluetooth or RF remote.
Mini Weather Station – Measure temperature, humidity, and pressure with sensors and show on LED.
Arduino Mega Projects
3D Printer Controller – Use Mega as the brain of a DIY 3D printer with stepper motor drivers.
CNC Machine / Plotter – Control multiple stepper motors to create a drawing or cutting machine.
Autonomous Robot – Integrate sensors (ultrasonic, IR, GPS) for navigation and obstacle avoidance.
Weather Monitoring Station – Collect and log large-scale environmental data with SD card storage.
Arduino Due Projects
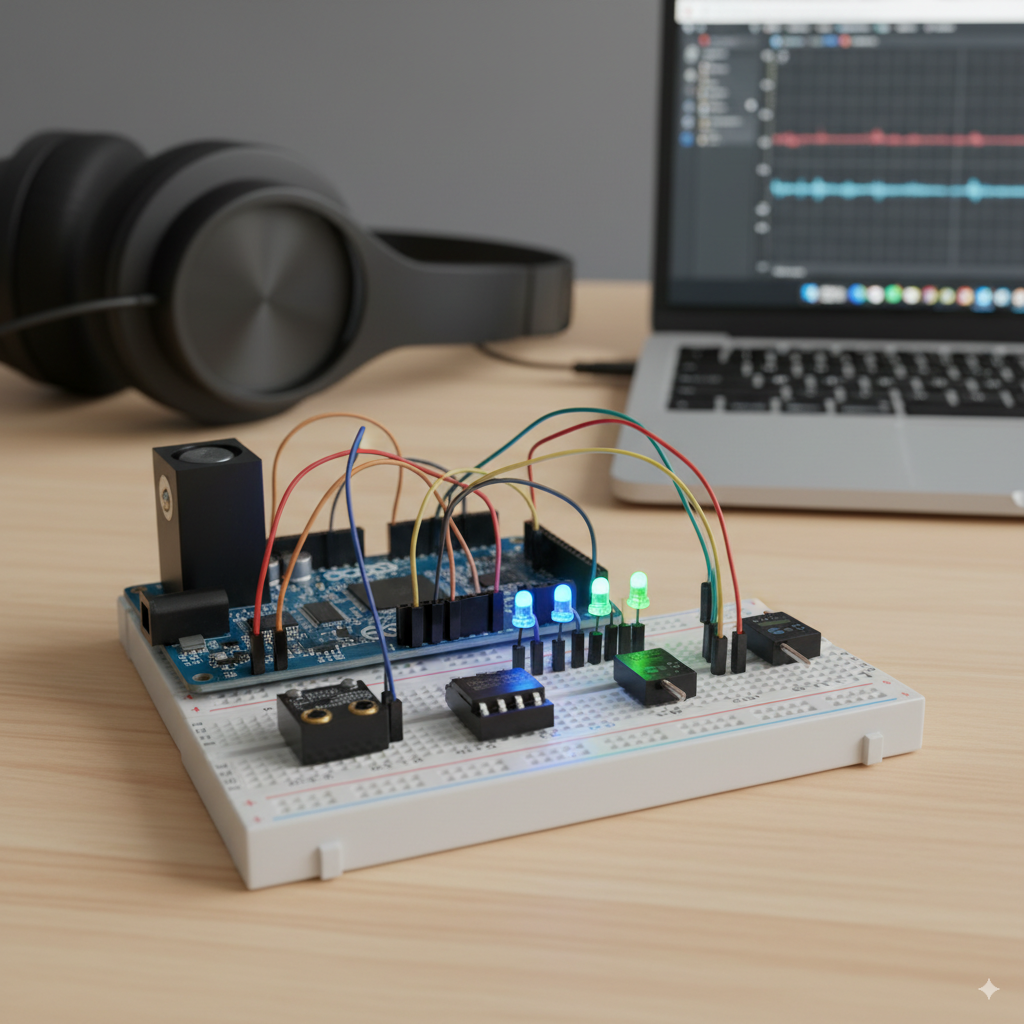
Digital Music Synthesizer – Generate high-quality audio tones and music effects.
Voice Recognition System – Process audio signals for simple speech commands.
AI Edge Processing (TinyML) – Run lightweight machine learning models on real-time data.
High-Speed Robot Arm – Control multiple servos and sensors with low latency.
ESP8266 Projects

Digital Music Synthesizer – Generate high-quality audio tones and music effects.
Voice Recognition System – Process audio signals for simple speech commands.
AI Edge Processing (TinyML) – Run lightweight machine learning models on real-time data.
High-Speed Robot Arm – Control multiple servos and sensors with low latency.
ESP32 Projects

AI-Powered Security Camera – Object detection and face recognition with ESP32-CAM.
Gesture-Controlled Robot – Use accelerometer + Bluetooth for hand-gesture robot control.
Edge AI Voice Recognition – Process simple speech commands without cloud dependency.
Smart Grid Energy Monitor – Real-time energy usage optimization for homes.
Final Thoughts
- Arduino continues to evolve, and each model serves a specific purpose. Whether you’re building a simple LED blink project with the Uno, a smart home system with the ESP8266, or a next-generation IoT device with the ESP32, there’s an Arduino model designed for you.
The key is to understand your project requirements—processing power, connectivity, memory, and size—before choosing your board. With the right Arduino model, your creativity is the only limit.
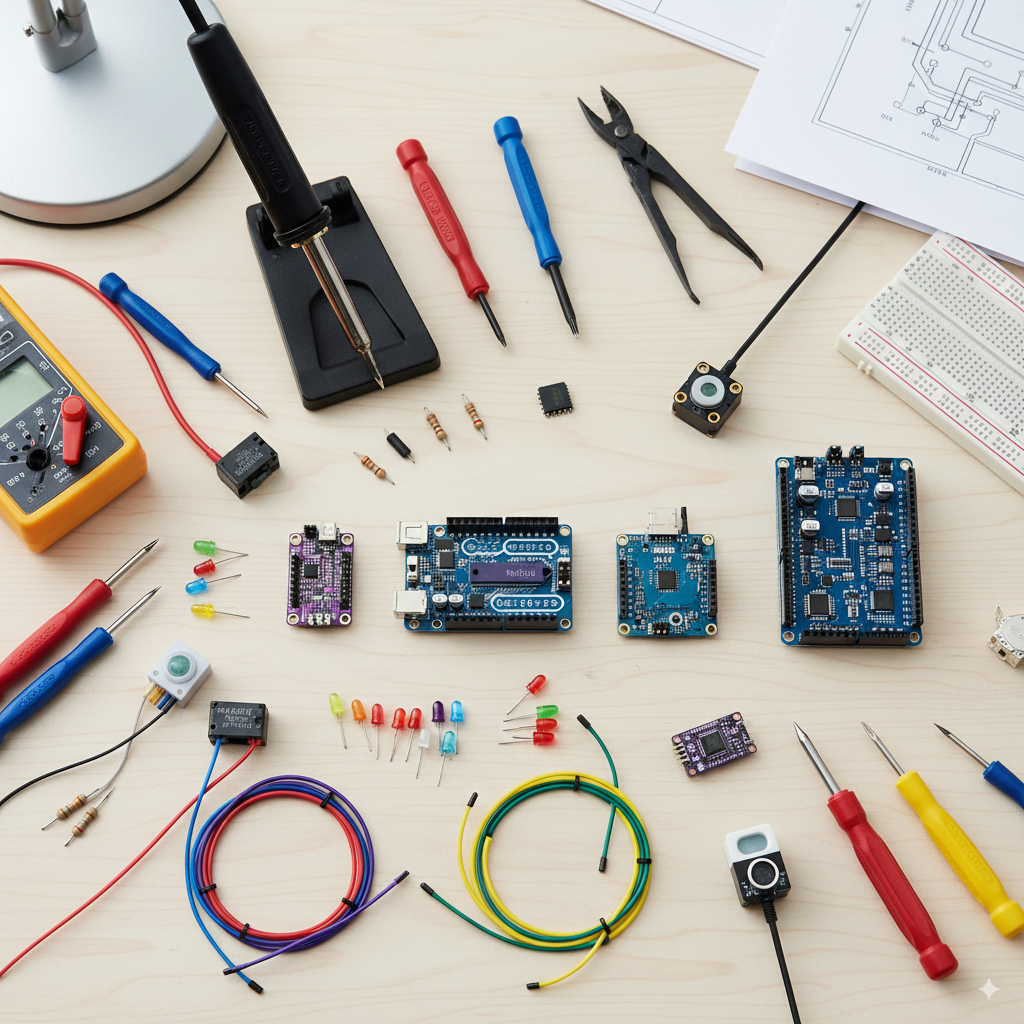
Bonus
Start your first project with the following tutorial!