Introduction
If you’re new to electronics, this Arduino IDE setup tutorial will help you get started quickly. The Arduino IDE is the core software used to program and upload code to your Arduino boards. In this guide, you’ll learn everything from installation to uploading your first sketch — making this Arduino IDE setup tutorial perfect for beginners and hobbyists.
- Download the correct Arduino IDE version for your system
- Install and configure it
- Connect your Arduino board
- Upload and verify your first sketch (program)
- Troubleshoot common issues
Having a well-set IDE ensures smooth coding and uploading of your projects.
Prerequisites & What You’ll Need
Before you begin, ensure you have:
- A desktop or laptop (Windows, macOS, or Linux)
- USB cable (usually Type A → Type B or micro USB / USB-C depending on your board)
- An Arduino board (e.g. Arduino Uno, Nano, or any compatible board)
- Internet connection (for downloading IDE and library updates)
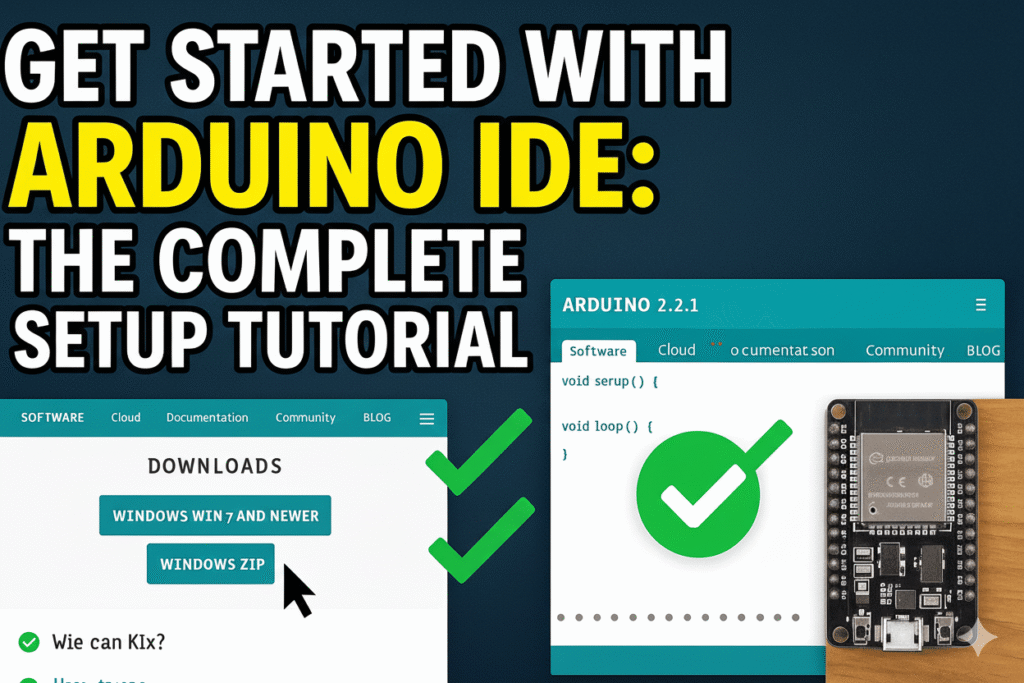
Step 1: Download the Arduino IDE
- Go to the official Arduino software page: arduino.cc → Software Arduino+1
- Choose the IDE version suitable for your OS (Windows, macOS, Linux).
- Download the installer or ZIP / archive version.
Step 2: Install the IDE
On Windows:
- Run the downloaded
.exeinstaller - Follow prompts (Accept license, choose installation folder, select components)
- Finish and optionally launch the IDE
On macOS:
- Download
.dmgfile - Open it and drag Arduino app into the Applications folder
On Linux:
- Use
.AppImageor tarball - For AppImage, make it executable (
chmod +x filename) and run - If needed, install dependencies (e.g. FUSE) on some distributions support.arduino.cc
If any errors occur (e.g. missing libraries), refer to Arduino support instructions for your OS. support.arduino.cc
Step 3: Launch & Configure the IDE
Once installed:
- Launch Arduino IDE
- Go to File → Preferences
- Set your Sketchbook location
- Enable “Show verbose output during compilation / upload” (helpful debugging)
- Install board cores / board support if your board is non-standard
- In Boards Manager, find and install cores
- Install libraries if needed using Library Manager
Step 4: Connect your Arduino Board
- Connect your board via USB
- Power LED (e.g. “ON”) should light
- In Arduino IDE, go to Tools → Board → select your board (e.g. “Arduino Uno or ESP32”)
- Go to Tools → Port → select the COM / serial port your board is attached to
If the board is not recognized:
- On Windows, driver installation might be required
- Ensure cable is data + power (not power-only)
- Try a different USB port
Step 5: Open & Upload Your First Sketch (Blink)
- Go to File → Examples → 01.Basics → Blink
- The code (Blink sketch) will open. The main parts:
void setup() {
  pinMode(LED_BUILTIN, OUTPUT);
}

void loop() {
  digitalWrite(LED_BUILTIN, HIGH);
  delay(1000);
  digitalWrite(LED_BUILTIN, LOW);
  delay(1000);
}
setup()runs once at start → configuring pin modesloop()runs continuously → toggling LED on/off
- Click the Upload button (→ arrow icon)
- Watch the console: it will compile, then upload. You should see the LED blinking on your board.
| Problem | Possible Cause | Solution |
|---|---|---|
| IDE won’t start | Missing dependencies or incompatible OS version | Verify OS support, reinstall or use portable version |
| Board not recognized | Driver issue (esp. on Windows) | Install correct USB/serial driver |
| Upload fails | Wrong board selected, wrong port, faulty cable | Re-check board & port, use known good cable |
| Sketch compiles but doesn’t run | Code or pin mismatch, bootloader issue | Confirm LED_BUILTIN matches your board, test with simple sketches |
Advanced Tips & Features (IDE 2.x)
- Auto-completion and syntax help
- Integrated serial plotter / monitor
- Debugger (for supported boards) Arduino Docs+1
- Project folder management
- Better board & library management
These modern features make development smoother as you scale your projects.
Summary & Next Steps
You’ve now:
- Downloaded and installed Arduino IDE
- Configured preferences and board support
- Connected your Arduino board
- Uploaded and tested your first sketch
- Learned how to troubleshoot common issues
From here, you can move into:
- Working with sensors and actuators
- Using additional libraries (WiFi, Bluetooth, displays, etc.)
- Building projects (e.g. LED strips, IoT, robotics)
- Exploring debugging, more advanced IDE features
If you want to learn more about Arduino Boards visit our blog Arduino Models Comparison: Best Boards for DIY & IoT