
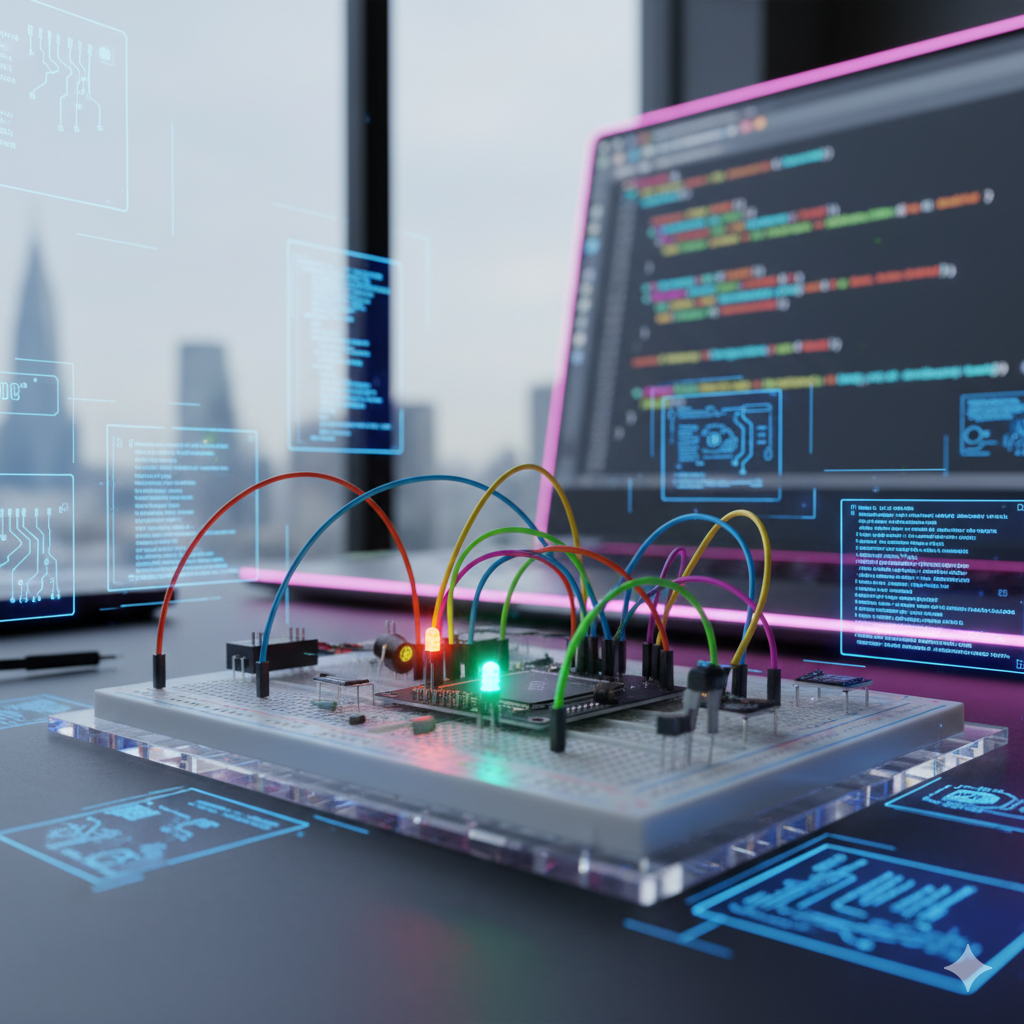

I have hit this error more times than I can count. You plug in an ESP32, press upload, and Arduino IDE stops dead. The first time it happened to me, I was sure the board was faulty. It was not. It was the cable.
That is why this guide starts with the cheap fixes. Work through it in order. Test an upload after each fix. Stop when it works.
The error most people see
Arduino IDE often shows a message like this: A fatal error occurred: Failed to connect to ESP32: Timed out waiting for packet header.
Read it plainly. Your computer cannot talk to the ESP32 at the moment of upload. That usually means a connection problem, not a dead board. Keep that in mind before you order a replacement.
Step 1. Check the cable
This fixes more uploads than anything else I have tried.
- Use a cable that carries data, not a charge only cable. Most phone cables I have lying around are charge only, and they look exactly the same as a data cable.
- Try a different USB cable, then a different USB port on your computer.
- If you use a USB hub, plug the ESP32 directly into the computer instead.
- Try the upload again.
If a new cable fixes it, label that cable. I keep one good data cable in my ESP32 box now, just for uploads.
Step 2. Check the port and the board
- In Arduino IDE, open Tools, then Port, and choose the port for your ESP32. If no port appears at all, the cable or the driver is the likely cause, so go back to Step 1 or jump to Step 4.
- In Tools, then Board, choose your ESP32 board model. If you are not sure which one you have, start with ESP32 Dev Module.
- Check the upload speed. Set it to 921600 or lower. If upload fails at the higher speed, try 115200. Slower is fine here. A slow upload that works beats a fast one that fails.
- Try the upload again.
Step 3. Hold the BOOT button
Some boards need a little help to enter upload mode.
- Press and hold the BOOT button on the ESP32 board.
- Press upload in Arduino IDE while you still hold BOOT.
- When you see Connecting in the output, release BOOT.
- Some boards need this every time. Some boards upload without it. If holding BOOT works for your board, just make it your normal upload method. It is not a fault.
Step 4. Check the driver
Many ESP32 boards use a CP210x or CH340 USB chip. Without the right driver, the board never appears as a port.
- If the board never appears as a port, install the driver for that chip from the chip maker site, then restart Arduino IDE.
- On Windows, check Device Manager for a device with a warning mark. That is often the missing driver.
- Try the upload again after the driver is installed.
Step 5. Try a simple sketch first
This step tells you whether the problem is the board or your code.
- Open the Blink example in Arduino IDE.
- Upload Blink before you upload your full project.
- If Blink uploads and your project does not, the problem is often in your code, not in the board. Check for a missing semicolon, a wrong pin, or a library that does not match your board.
- If Blink also fails, go back to steps 1 to 4.
When to suspect the board
- Try the same board on a second computer, with a known good cable.
- Try a second ESP32 board with the same cable and computer.
- If one board works and the other does not, in the same setup, the second board may be faulty.
- If the board gets very hot, smells burnt, or has visible damage, stop using it.
Quick checklist
- Data cable, direct USB port.
- Correct port and board selected.
- BOOT held during upload.
- Driver installed for CP210x or CH340.
- Blink uploads before the full project.
Next step
Now try Your First ESP32 Project, and then the DHT11 tutorial. If you still see the same error after these steps, leave a comment with your board model, your operating system, and the full error message from Arduino IDE. That detail is what lets the next reader help you, and it helps me update this guide.
You can also watch the video version on TechLearner, where I show the same error and the same fixes on screen.


Pingback: Gemini 4 Hydrogen, What It Means for You
Pingback: Arduino IDE Setup for ESP32, Updated for 2026